I don’t know about you guys, but I can’t stand a mess. Don’t get me wrong, with three little kids, I’ve become very tolerant, but I just can’t help it, clutter makes me crazy! I absolutely love newborn photography and all of the pretty little things that go along with it. The problem is that it doesn’t take very long before you accumulate more than you can deal with! I work out of a home studio and on location, so I have to be organized both in storage and on the go.
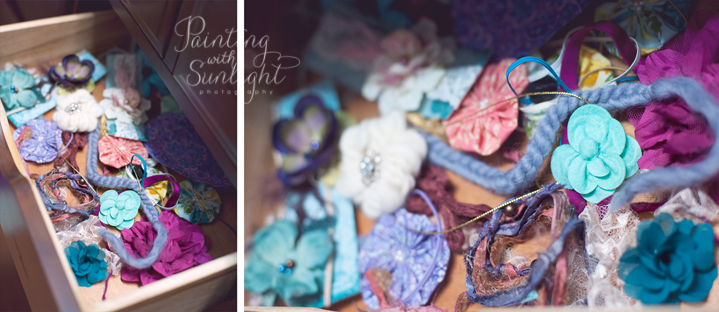
In short, I needed to put an end to this…

You’ve probably seen it yourself, the drawer(s) of headbands. Or maybe for you it’s a tub or some other container. Regardless, for me personally, it was just not working! I’m a visual person and I need to be able to see my things as I decide what to use and put together.
I should probably have started by letting you know that this is not intended to be a fancy solution! I don’t have a lot of extra time, so when I finally set aside a few moments and attempt to tackle something like this, I need to use that momentum and get it done. That said, the goal of this project was to find a better storage solution with things I already had laying around the house.
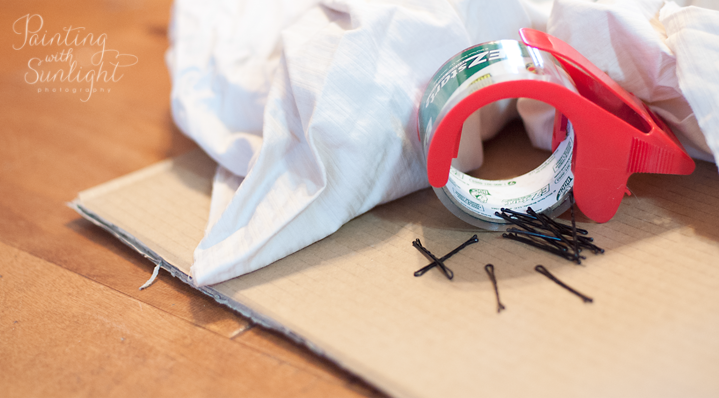
I started by gathering a few supplies. Tape, cardboard, and fabric are things that I always have around the house. I also had a new pack of unopened bobby pins from a wedding or something.

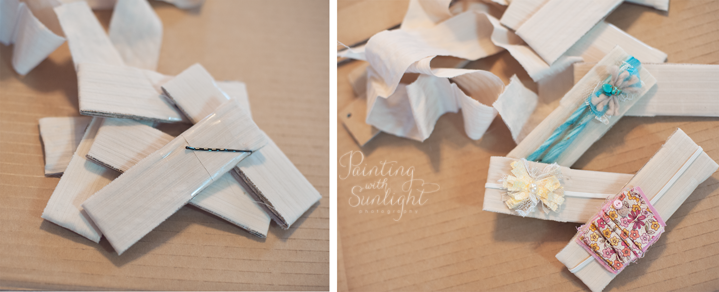
Here’s what I did. I cut the cardboard into fairly thin strips. Cardboard is light, fairly easy to cut and I happened to have a ton of it after the holidays. My cards were about 1.5″ x 5″. I choose this size because it is the exact size of the box that I intend to put them into. But I’ll show you that at the end. I also punched a hole in the corner. I don’t have a board to hang these on at the moment, but if I punch the hole now before I cover the pieces I have that option for the future. Next I cut, or rather ripped because it’s faster and let’s face it, these aren’t going on display at a museum, pieces of fabric in the exact width of the cards.

Make sure that your fabric is pre-washed in a dye free detergent, you want to keep everything very clean.
Next, I cut strips of the fabric and wrapped it around the cards. I used pieces of packing tape to secure the fabric. I could have glued the fabric, however, by using tape I created a very smooth surface that the bobby pin could slide onto. This is important for holding the headband or tie in place without pulling the fabric or the tie.
Then, I stuck the bobby pin into the side of the cardboard, right into the middle. By sticking it in at a diagonal, I cut through the cardboard ridges so the bobby pin would stay in place. And that’s it, my card is done.
I wrapped each of my headbands around the cards, tucking the ends into the bobby pin to secure them.

I had to wrap the ends of some of my tie backs around twice before securing, but for the most part they fit very well. And here is the best part. Because of the size that I chose for my cards they fit perfectly into the craft boxes that I had. Ok, Ok, you caught me, I did purchase these boxes for this purpose, but everything else was lying around the house. I swear!

And that’s it, nice and neat. Now, I have a nice stack of boxes with all of my headbands. I kept one empty box to fill with my selections when I travel on location and it fits right into my other containers without fear of crushing or losing anything. If I ever decide to hang the headbands on the wall on a peg board or something, I’ll just string a piece of cord through the little hole that I punched in the card and I’ll have a nice display. The best part is that I made a ton of these. If you’re going to do it, you might as well make extra, right? I just filled a Ziploc bag with the extra cards and as I get new things I’ll wrap them and put them away.
I got the boxes at JoAnn Fabric and they were pretty inexpensive. You could make fancier cards and no doubt there are many other ideas out there for organizing these things but at the end of the day, I just needed to get it done and this was a great solution for me! Who knows, maybe it will work for someone else too. 🙂
Next up… Hats!


